UnderlayX AI

    Double Exposure Generator for Free

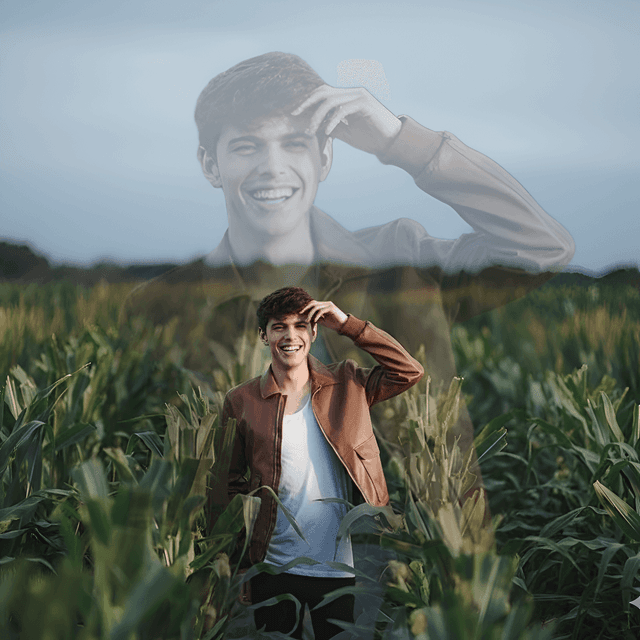
    Blend two photos into one. Place a second image inside your subject's silhouette for the classic double-exposure effect — with adjustable blend, opacity, and position.
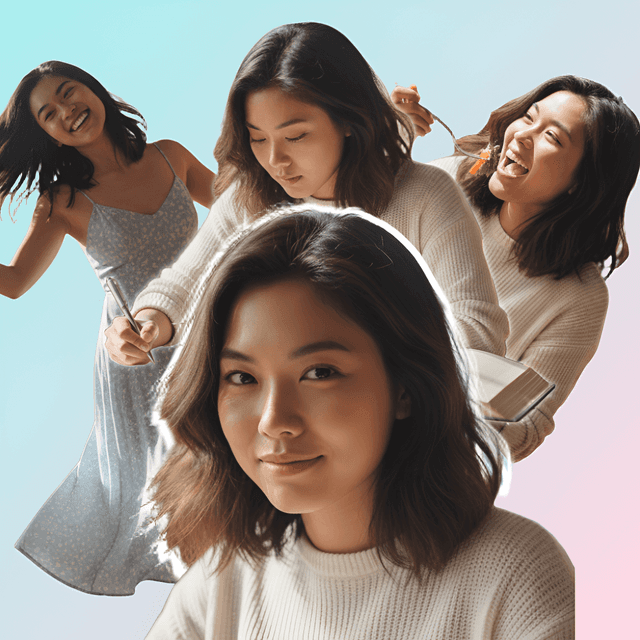
    Create now
    Example 1 - Double exposure effect
    Example 2 - Double exposure effect

    Key Features

    Blend a second image inside your subject's silhouette
    The classic double-exposure look — great for portraits and posters
    Blend modes: Screen, Lighten, Normal, Multiply, Overlay
    Adjustable opacity, position, and zoom of the inner image
    Upload your own image or pick from Unsplash — high-resolution export

    How It Works

    1
    Upload your main photo to the free double exposure tool
    2
    Add a second image (upload or Unsplash) to blend inside the subject
    3
    Pick a blend mode and tune the opacity for the look you want
    4
    Position and zoom the inner image inside the silhouette
    5
    Download your double exposure instantly — no watermark

    Why Choose UnderlayX AI?

    Lightning Fast

    Process images in seconds with our optimized AI algorithms

    Privacy First

    Your images are processed securely and never stored

    Professional Quality

    AI-powered results that match expensive software

    More free AI photo tools

    Text behind imageClone imageOverlay imagesFloating image effectAI inpaintingChange backgroundRemove background
    Start Editing Now - It's Free!

    Double Exposure — FAQs

    What is a double exposure effect?▾

    A double exposure blends two images into one — classically, a second scene appears inside a subject's silhouette (like a face filled with a cityscape or forest). It's a striking, artistic look popular for portraits, album covers, posters, and ad creatives.

    How do I make a double exposure online for free?▾

    Upload your main photo, open the Double Exposure tool, then add a second image (upload your own or pick from Unsplash). It's automatically blended inside your subject's shape. Adjust the blend mode, opacity, and position to taste. Your first edit is free with no watermark.

    Which blend mode should I use?▾

    Screen and Lighten work best when your subject is dark (they let the bright parts of the second image glow through) — that's the classic look. Multiply works better on light subjects. You can switch modes instantly and pick whatever looks best.

    Can I control how strong the effect is?▾

    Yes. An opacity slider controls how much the second image shows through, and you can position and zoom the inner image to place the scene exactly where you want inside the silhouette.

    Do I need Photoshop or design skills?▾

    No. Everything runs in your browser with a simple upload-and-slide workflow — no Photoshop, layers, or masking required. You can download a high-resolution result.

    What photos work best for double exposure?▾

    A subject with a clear silhouette (a portrait, profile, or well-separated object) plus a textured second image (a city, forest, mountains, or sky) produces the strongest results.

    Want the subject to float over a new background instead of blending inside it? Try our floating image effect tool.